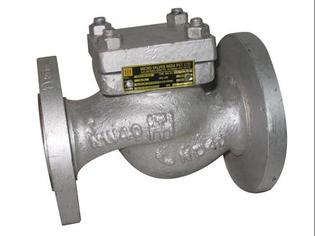
Hydronic heating is one of the oldest technologies of modern man, which is used for warming a home by circulating hot water or steam through a set of pipes to radiators that release the energy. While after a long time of use, you need to replace the radiator valve. So here are some tips on replacing in-home radiator valves.
More Instructions
1), Turn off the boiler and allow the system to cool. Once cooled, drain the water from the system.
2), Heat the union joint, which connects the valve to the unit, with a heat gun. This will assist in the loosening of the joint.
3), Turn the union joint with a pipe wrench until it is disconnected from the radiator.
4), Remove the valve from the supply pipe with the two pipe wrenches, using one to turn the valve and one to hold the pipe.
5), Remove the spud from from the radiator using the spud wrench. The spud is what connects the valve body to the radiator. Use a pipe wrench to turn the spud wrench. If the spud is tight, use the heat gun to expand the radiator and assist in its removal.
6), Clean the threads on the supply pipe and radiator using the wire brush. The paint on the radiator could contain lead so use necessary precautions to protect yourself.
7), Remove the new spud and nut from the new valve. Wrap the treads in thread sealing tape and apply a small amount of plumber's putty as well. Use the spud wrench and pipe wrench to install the new spud.
8), Apply tape and putty to supply pipe and thread on the new valve. Use the wrenches to tighten.
Next time when you face the same problem, you can use these tips to replace in-home radiator valves on your own.
 RSS Feed